Repository Management
All Repositories
When you first head to the repositories page, you’ll be presented with a list of all the repositories in your organization.
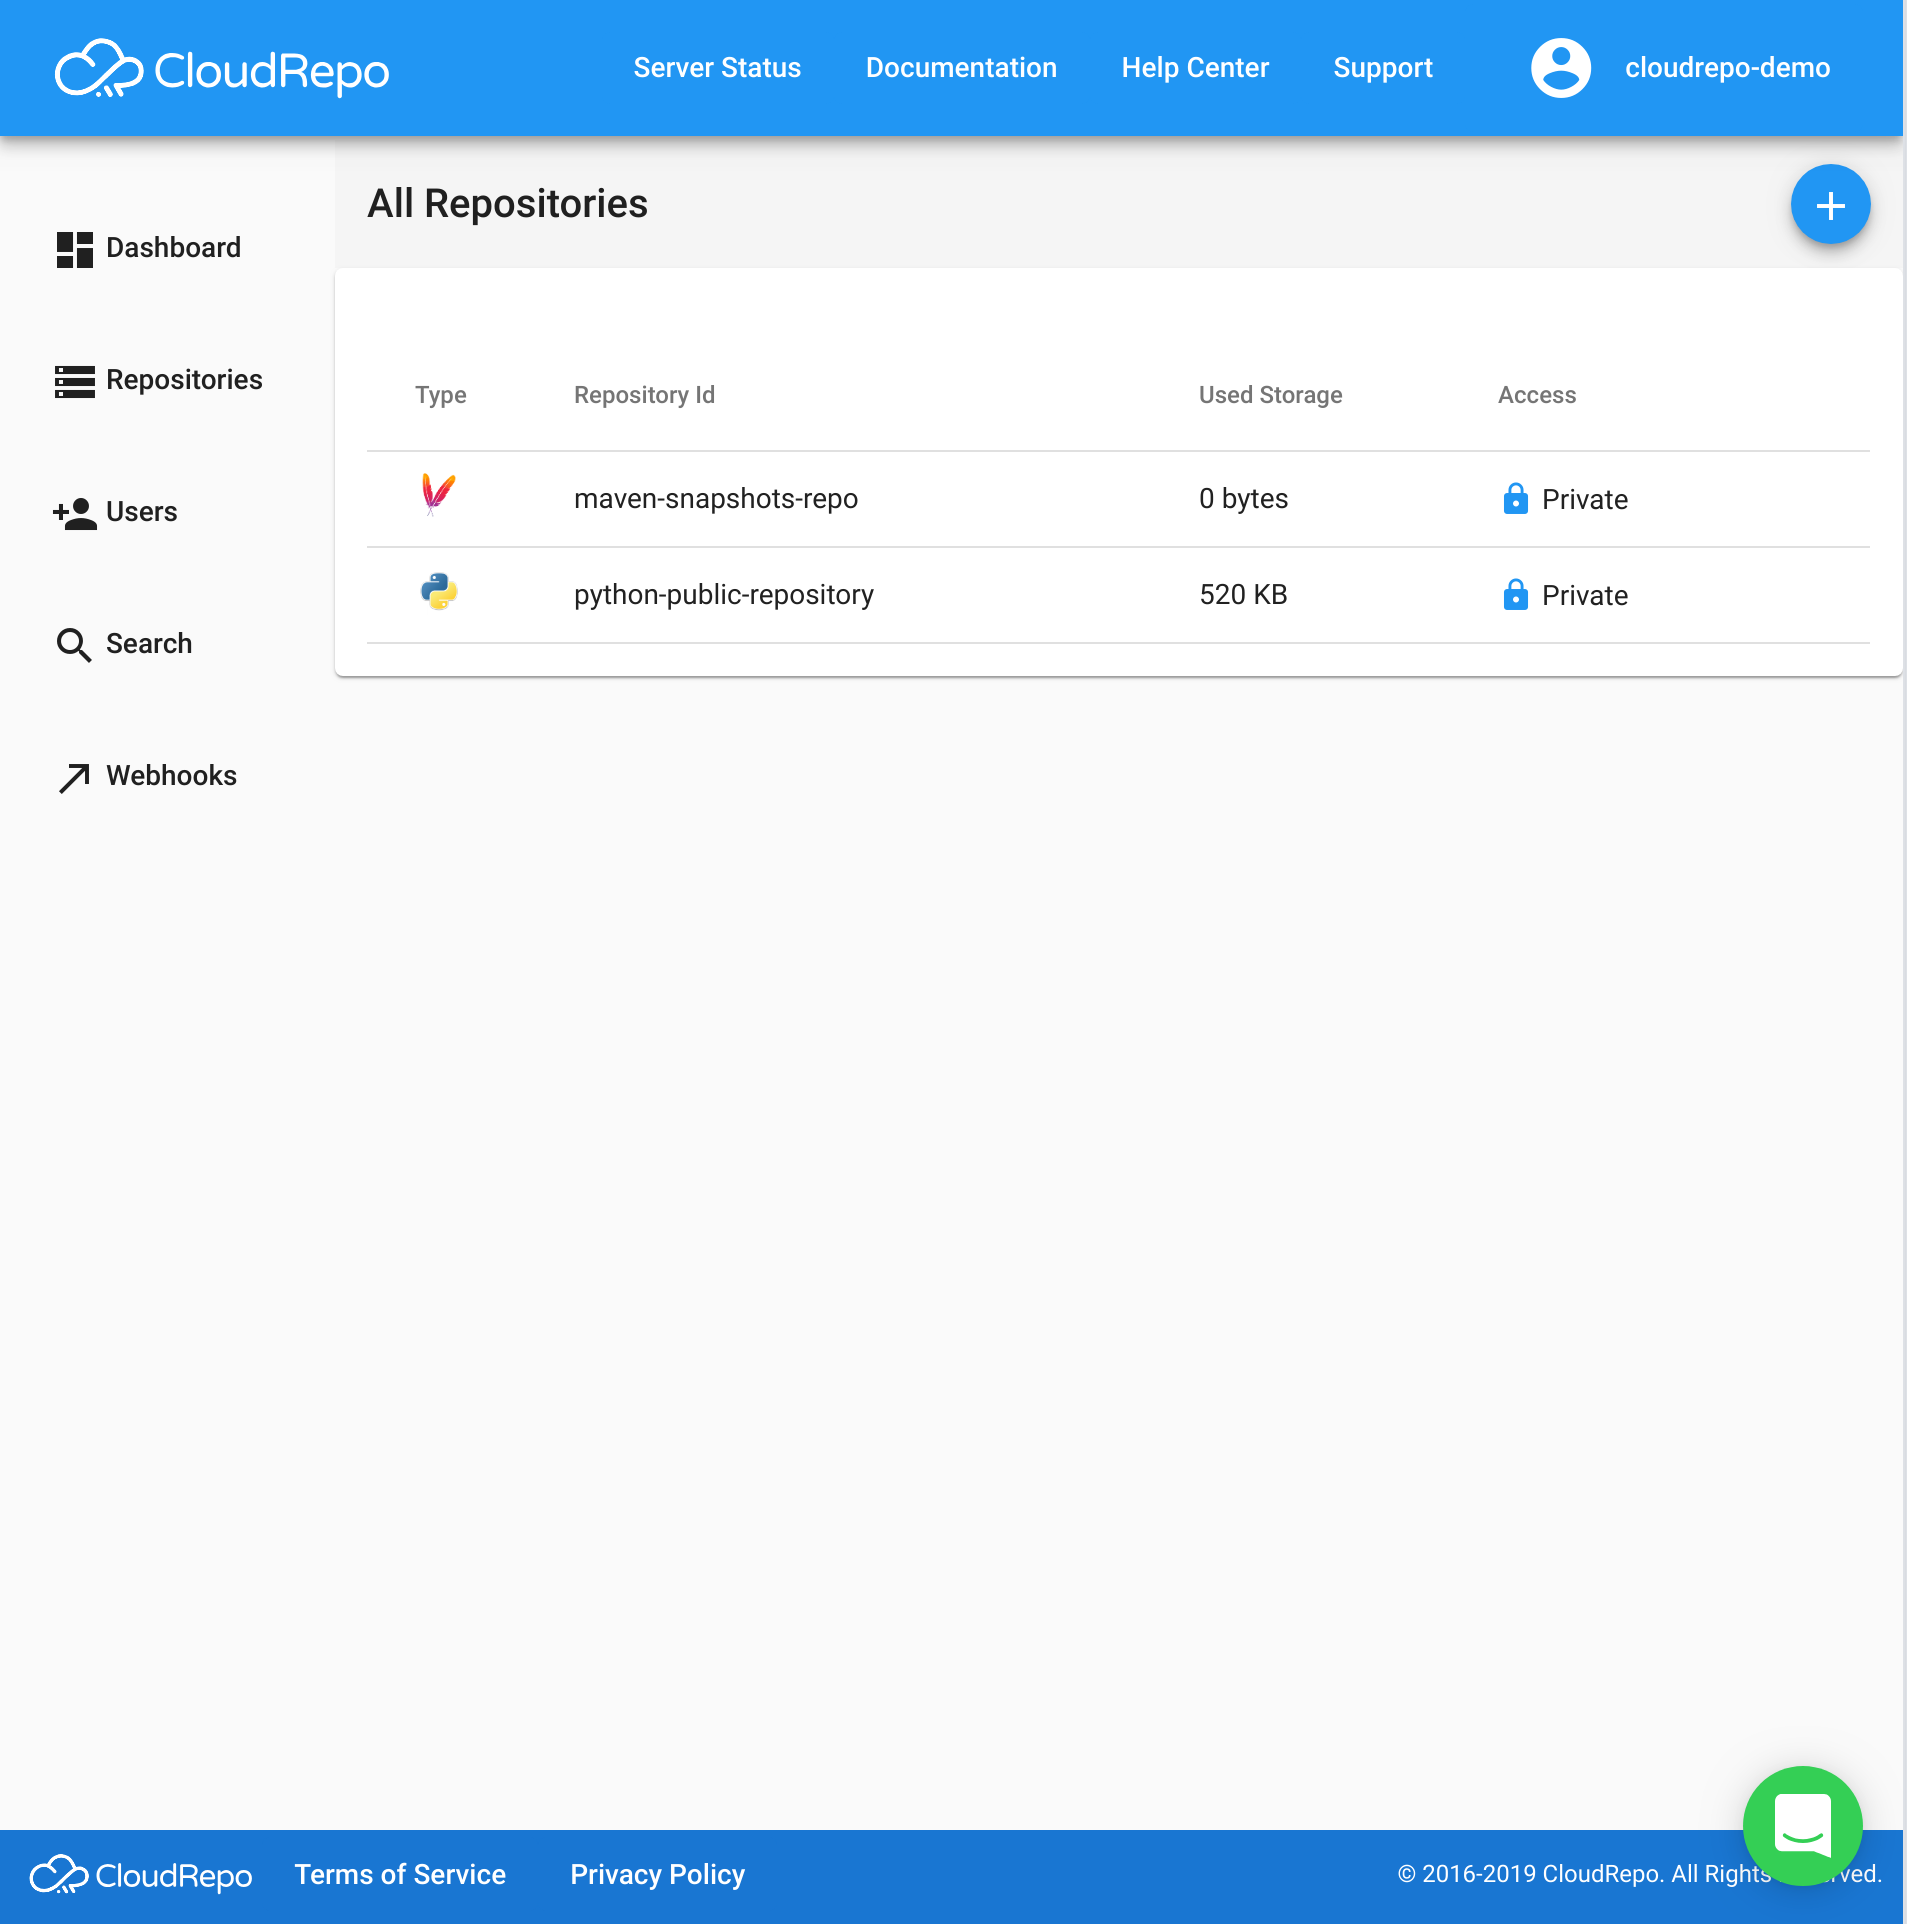
Clicking on an individual repository will bring you to the individual repository overview.
You can also create a repository from this screen by clicking the ‘+’ icon in the ‘All Repositories’ title bar.
Creating a Repository
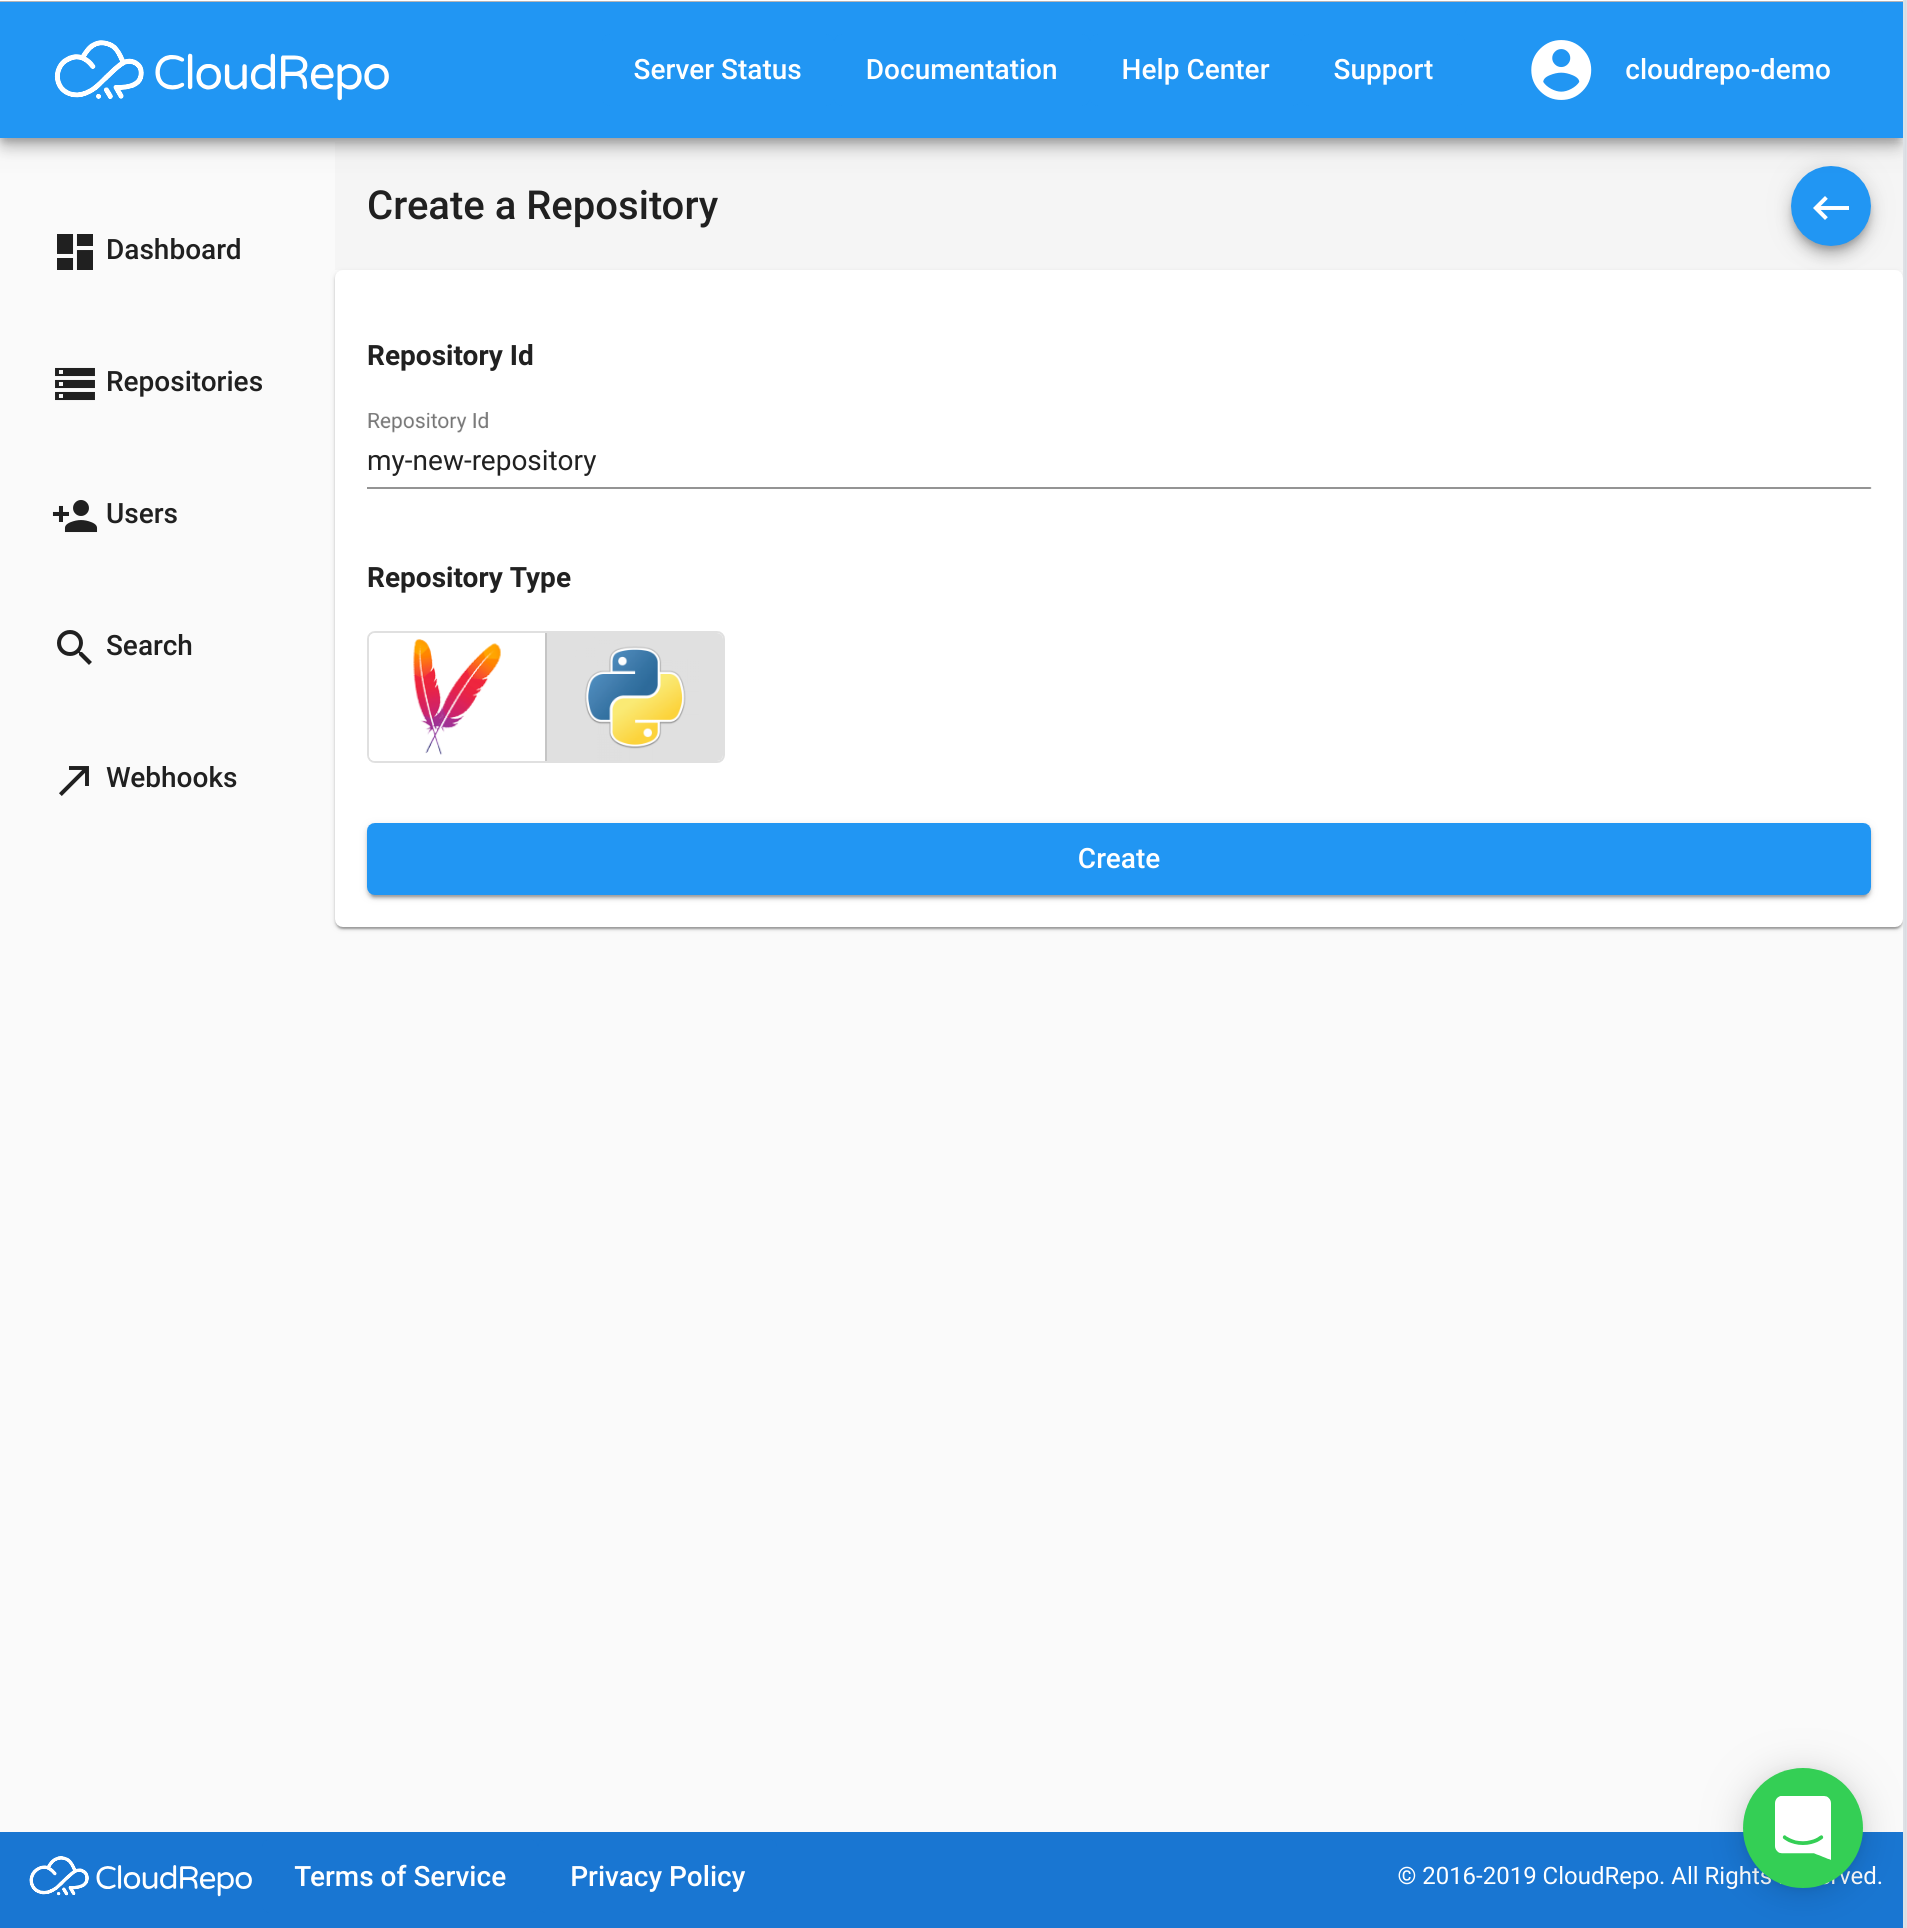
Creating a repository is easy. Once you enter the ‘Create a Repository’ screen, you only have to provide the following information:
- Repository Id
- The Id or Name of the Repository you’re creating (ie. ‘snapshots’, ‘releases’, ‘packages’, etc).
- Repository Type
- Select either Maven or Python for your repository type.
Managing a Repository
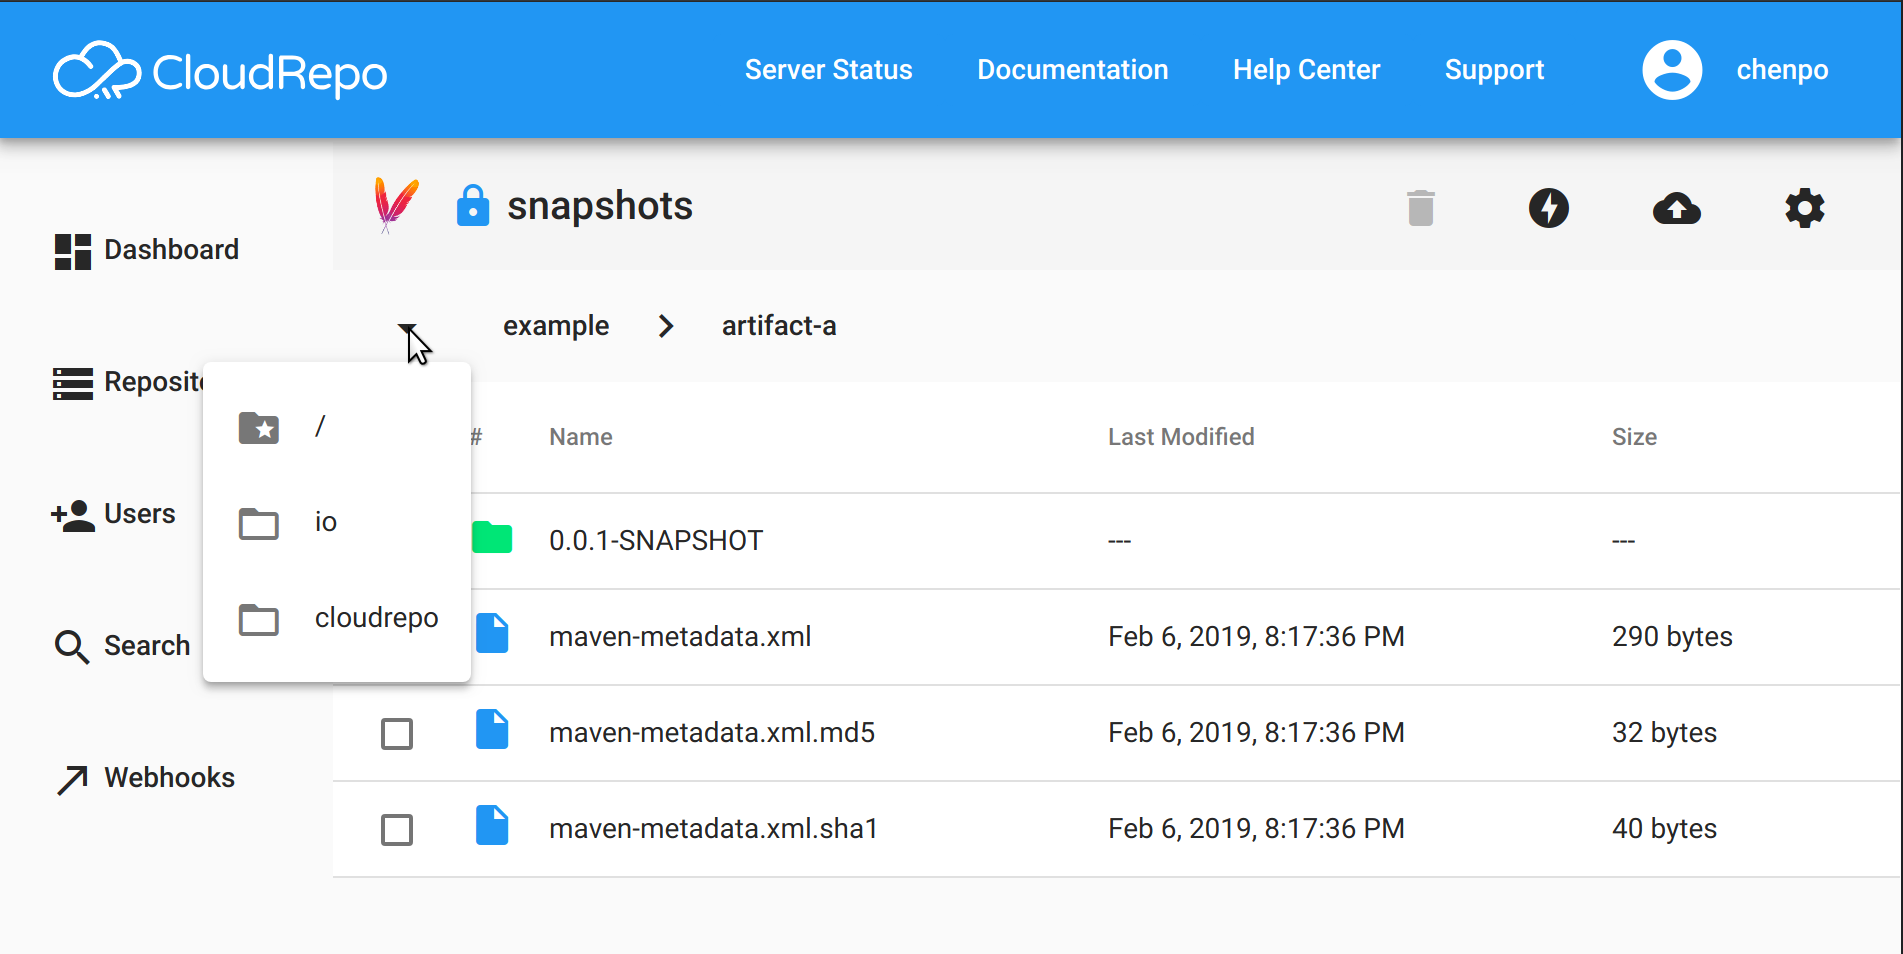
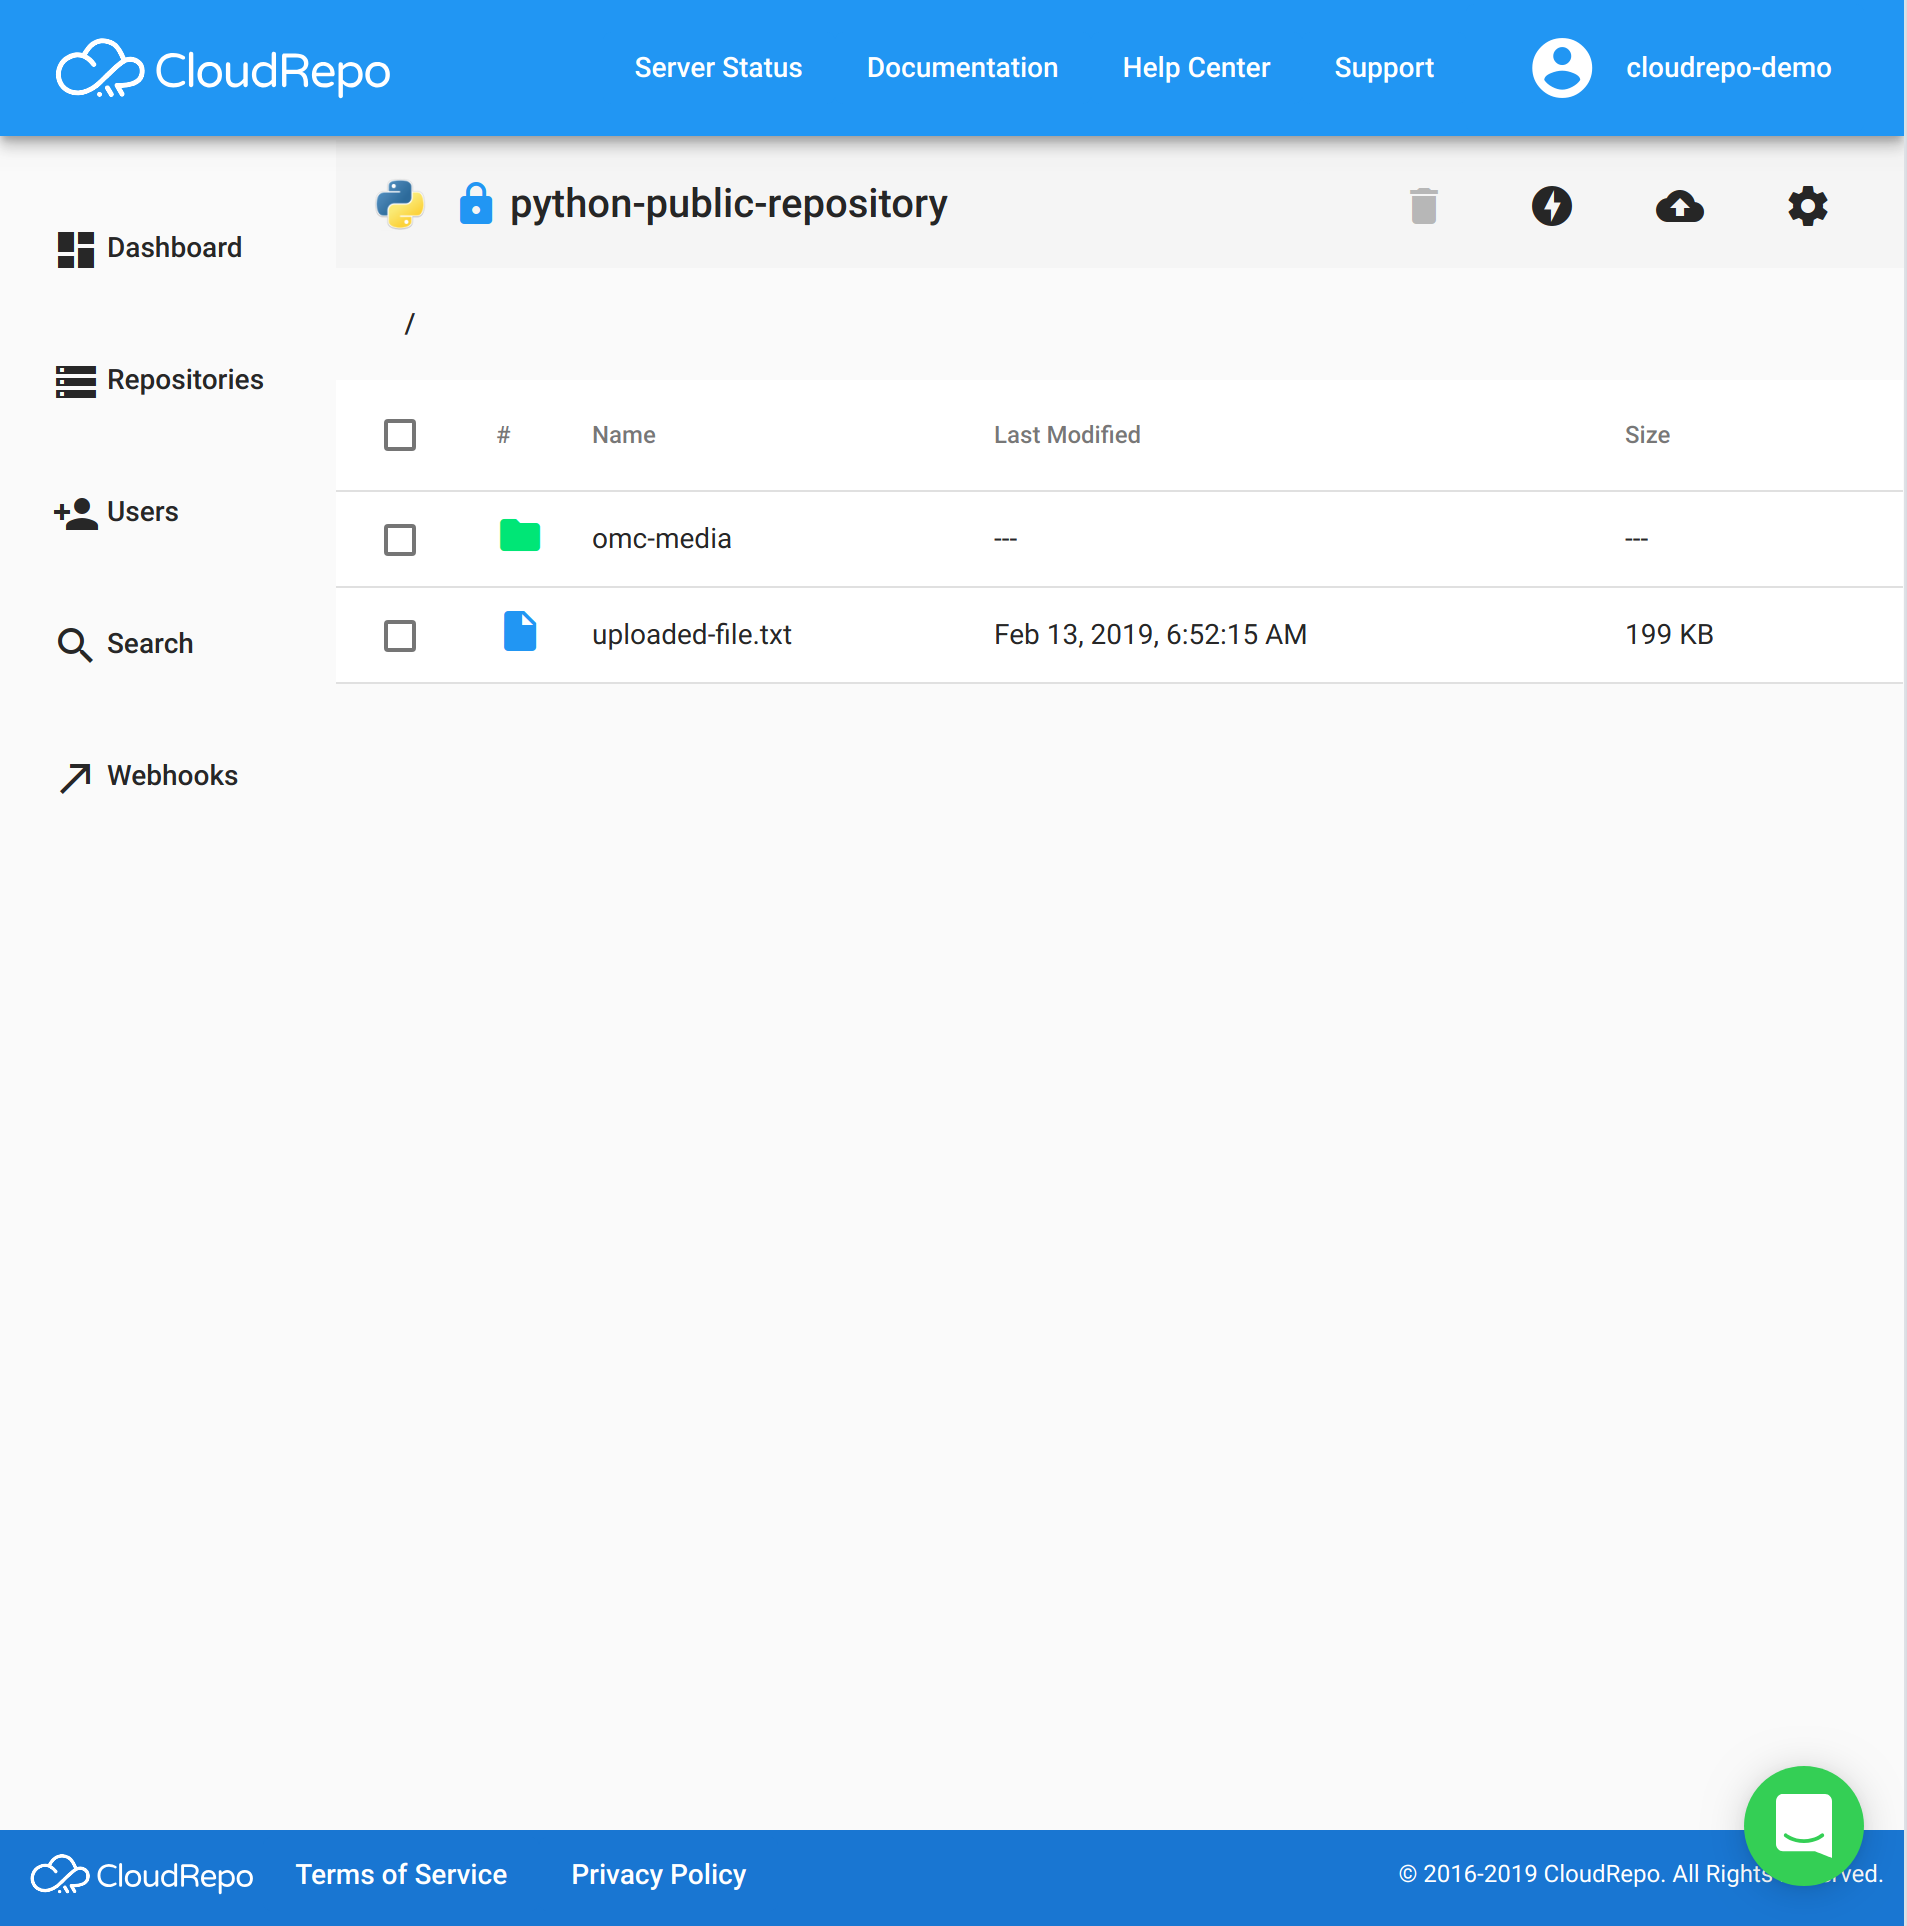
The repository overview screen allows you to view the contents of your repository in a familar, file tree browser.
From this view, you can see all files and directories, their update times, and file sizes.
Uploading Files
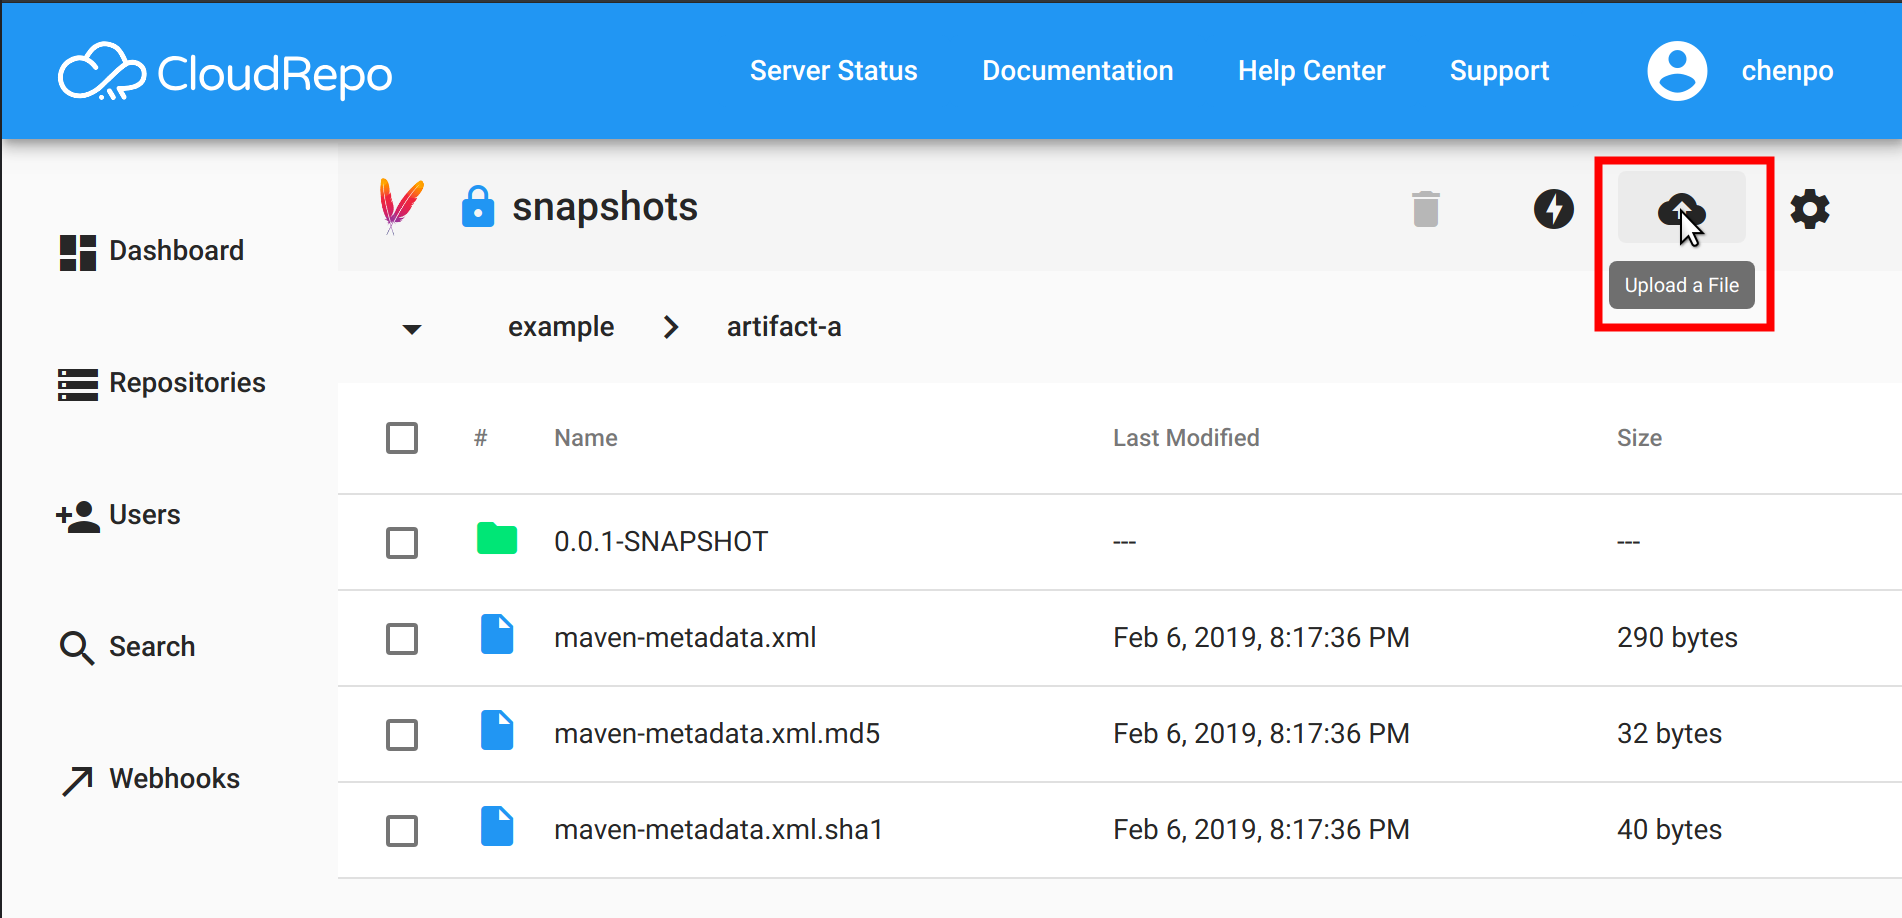
Uploading files to a repository can be done directly through the Admin Portal by selecting the ‘Upload a File’ icon in the Repository menubar.
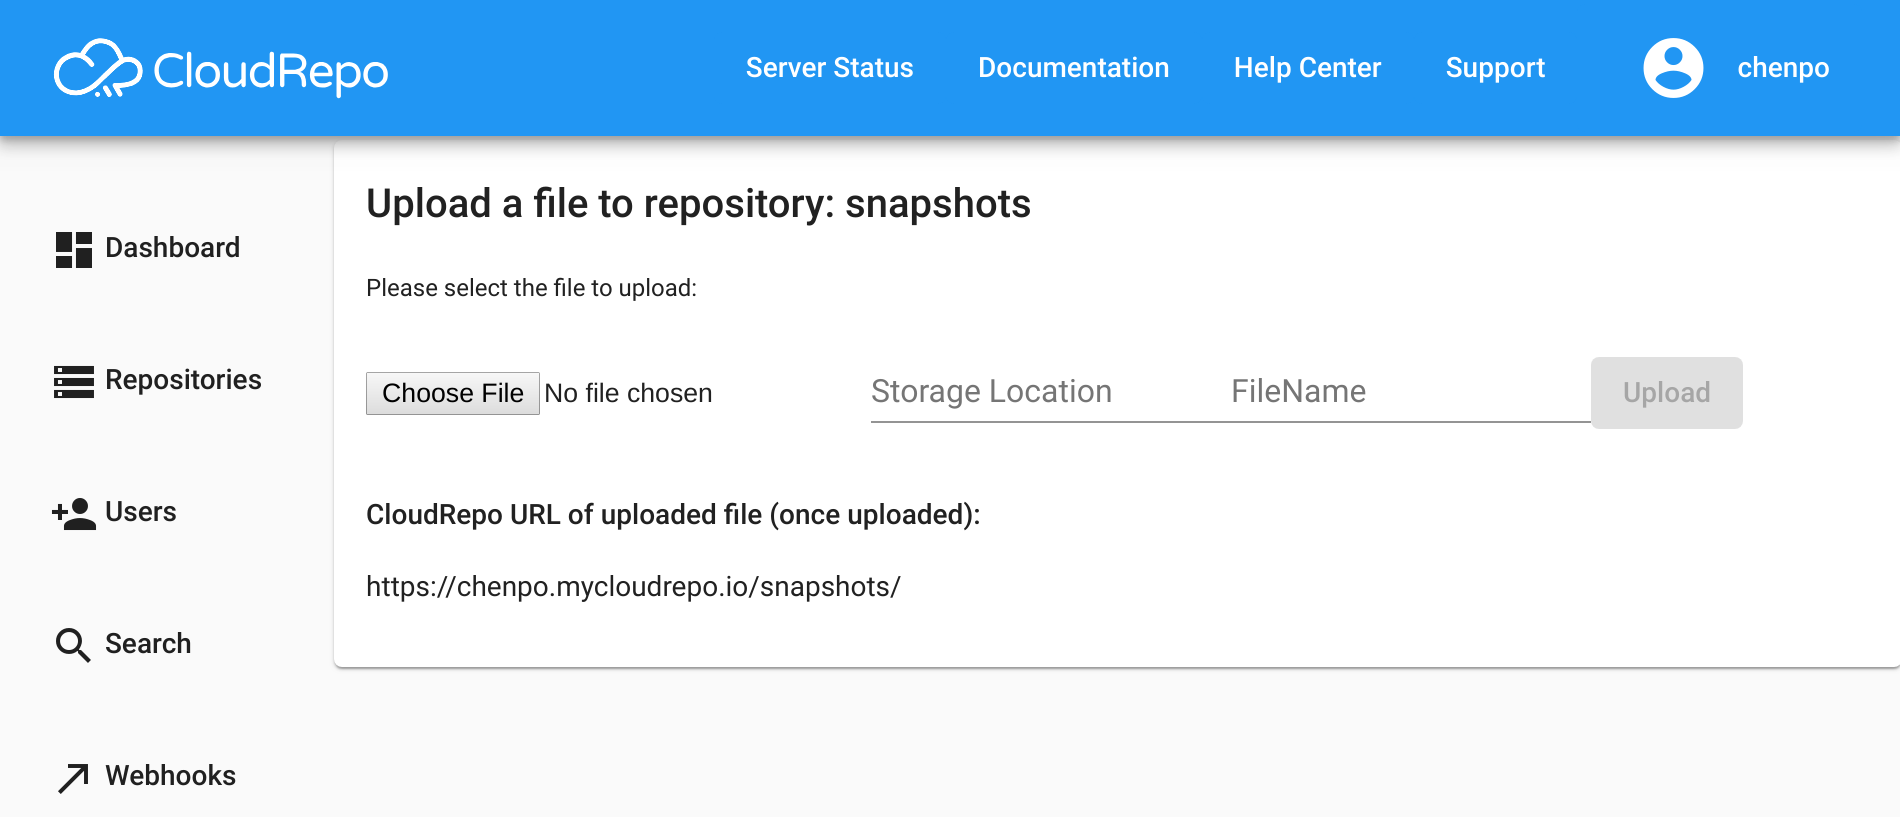
This brings you to a file picker where you can select the item on your computer that you wish to upload.
Downloading Files
To download a file, simply click on the row containing the file you desire. We’ll buffer the data on our servers then send it to you. This usually takes no more than a second or two, depending on the size of your file.
Viewing Folders
To view the contents of a folder, simply click on the row containing the folder and you’ll be sent to a new view containing its contents.
Deleting Files and Folders
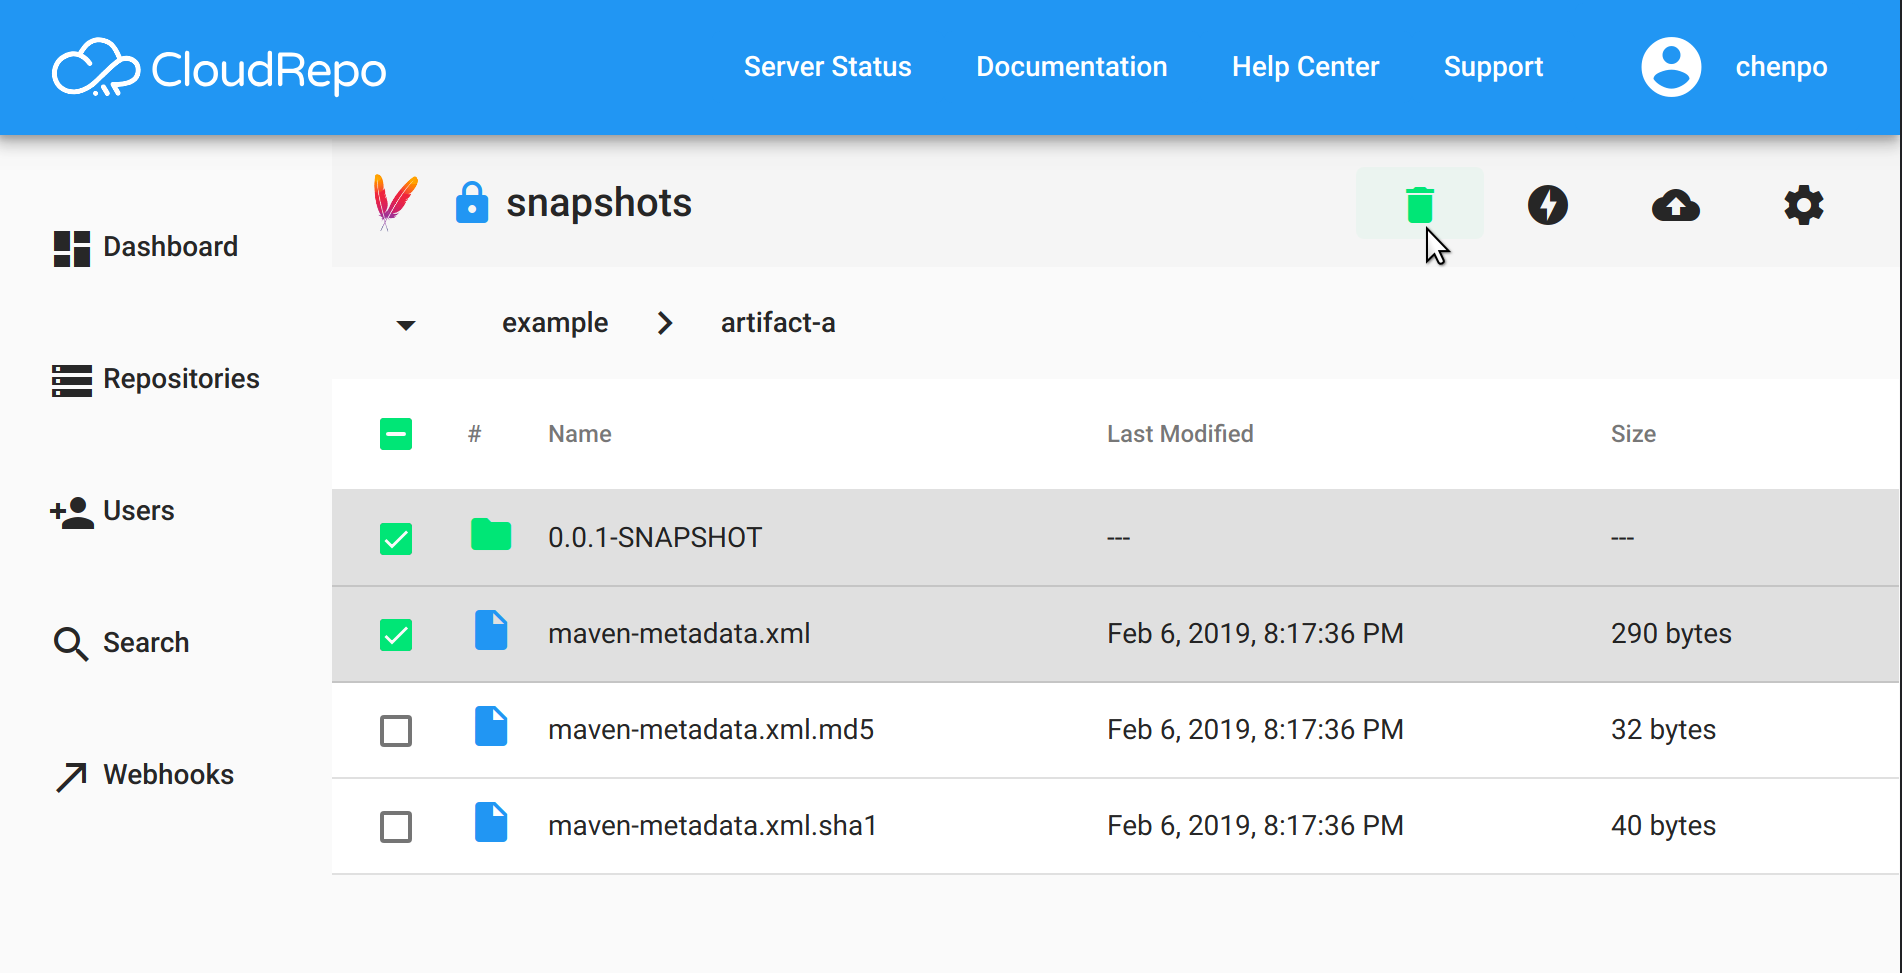
To delete a file or folder, simply toggle the select button of the item you wish to delete and then press the trascan icon in the menu.
Multiple items can be deleted simply by selecting them.
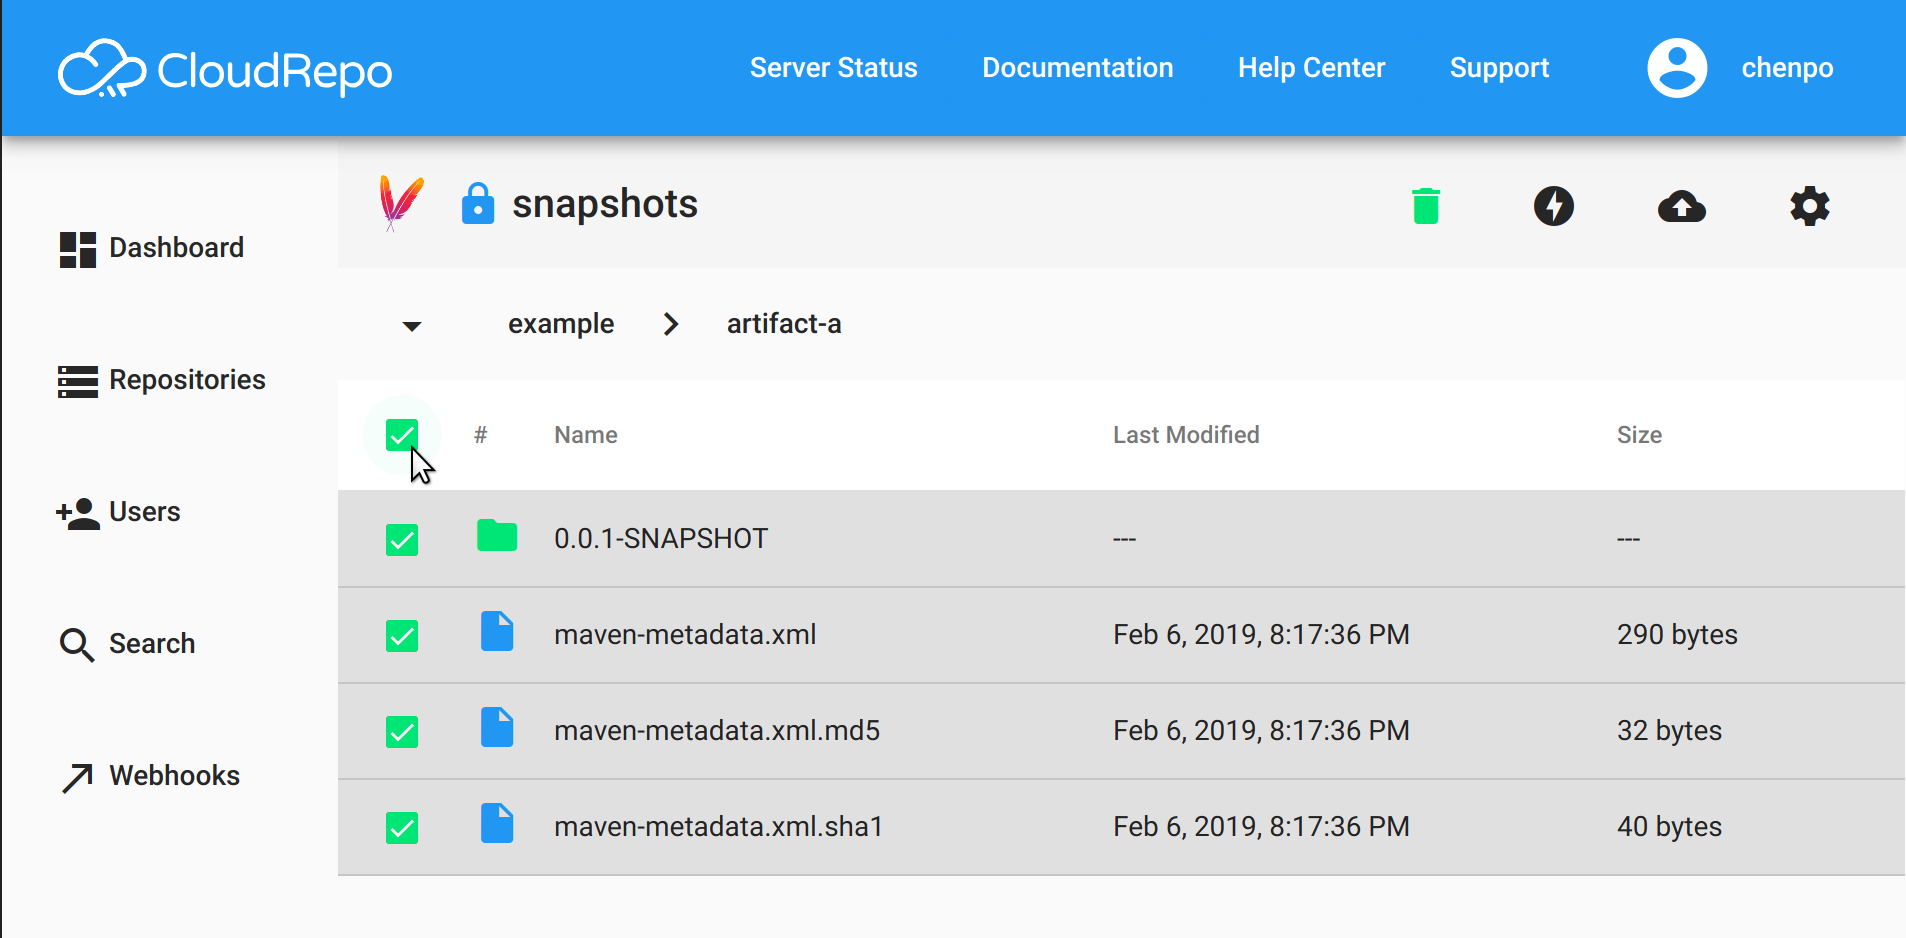
All items can be toggled with the master select box at the top of the table.
View Connection Settings
To view repository specific connection settings, or instructions for connecting your clients to CloudRepo, simply click the ‘Connection Information’ button located in the repository menu.
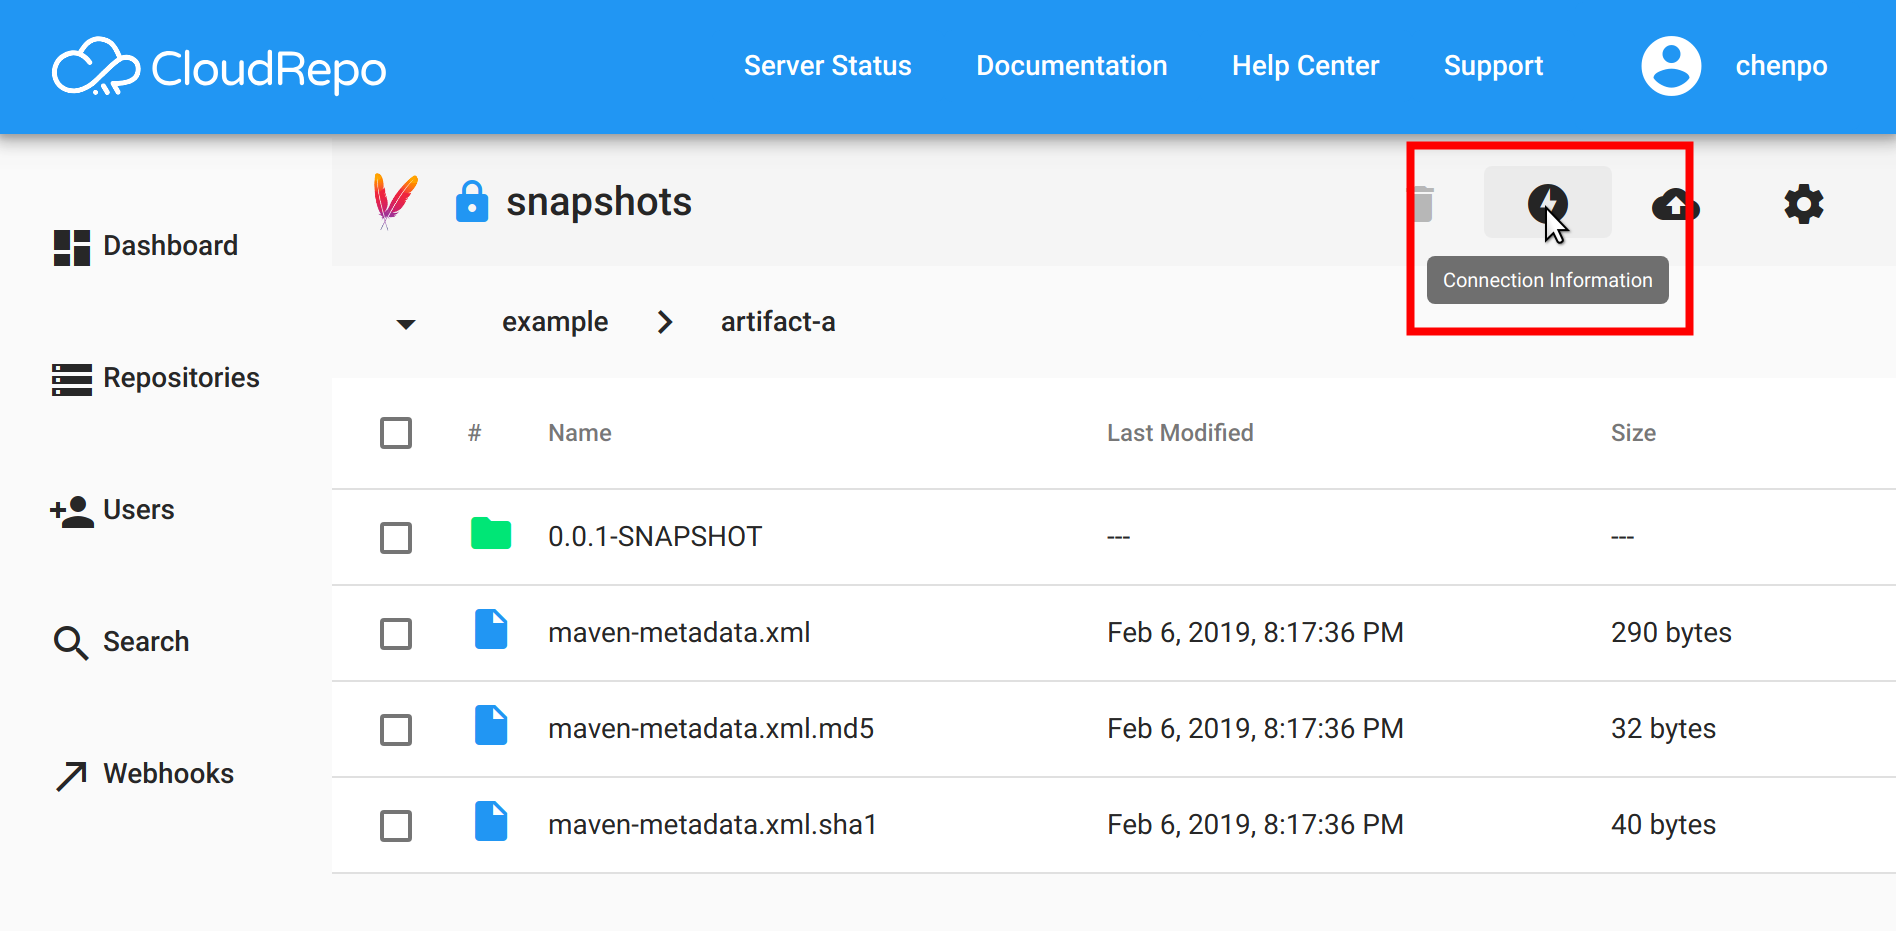
The information provided in this screen will be as close to customized for your repository as possible. You will still have to substitute appropriate values for placeholders where indicated.
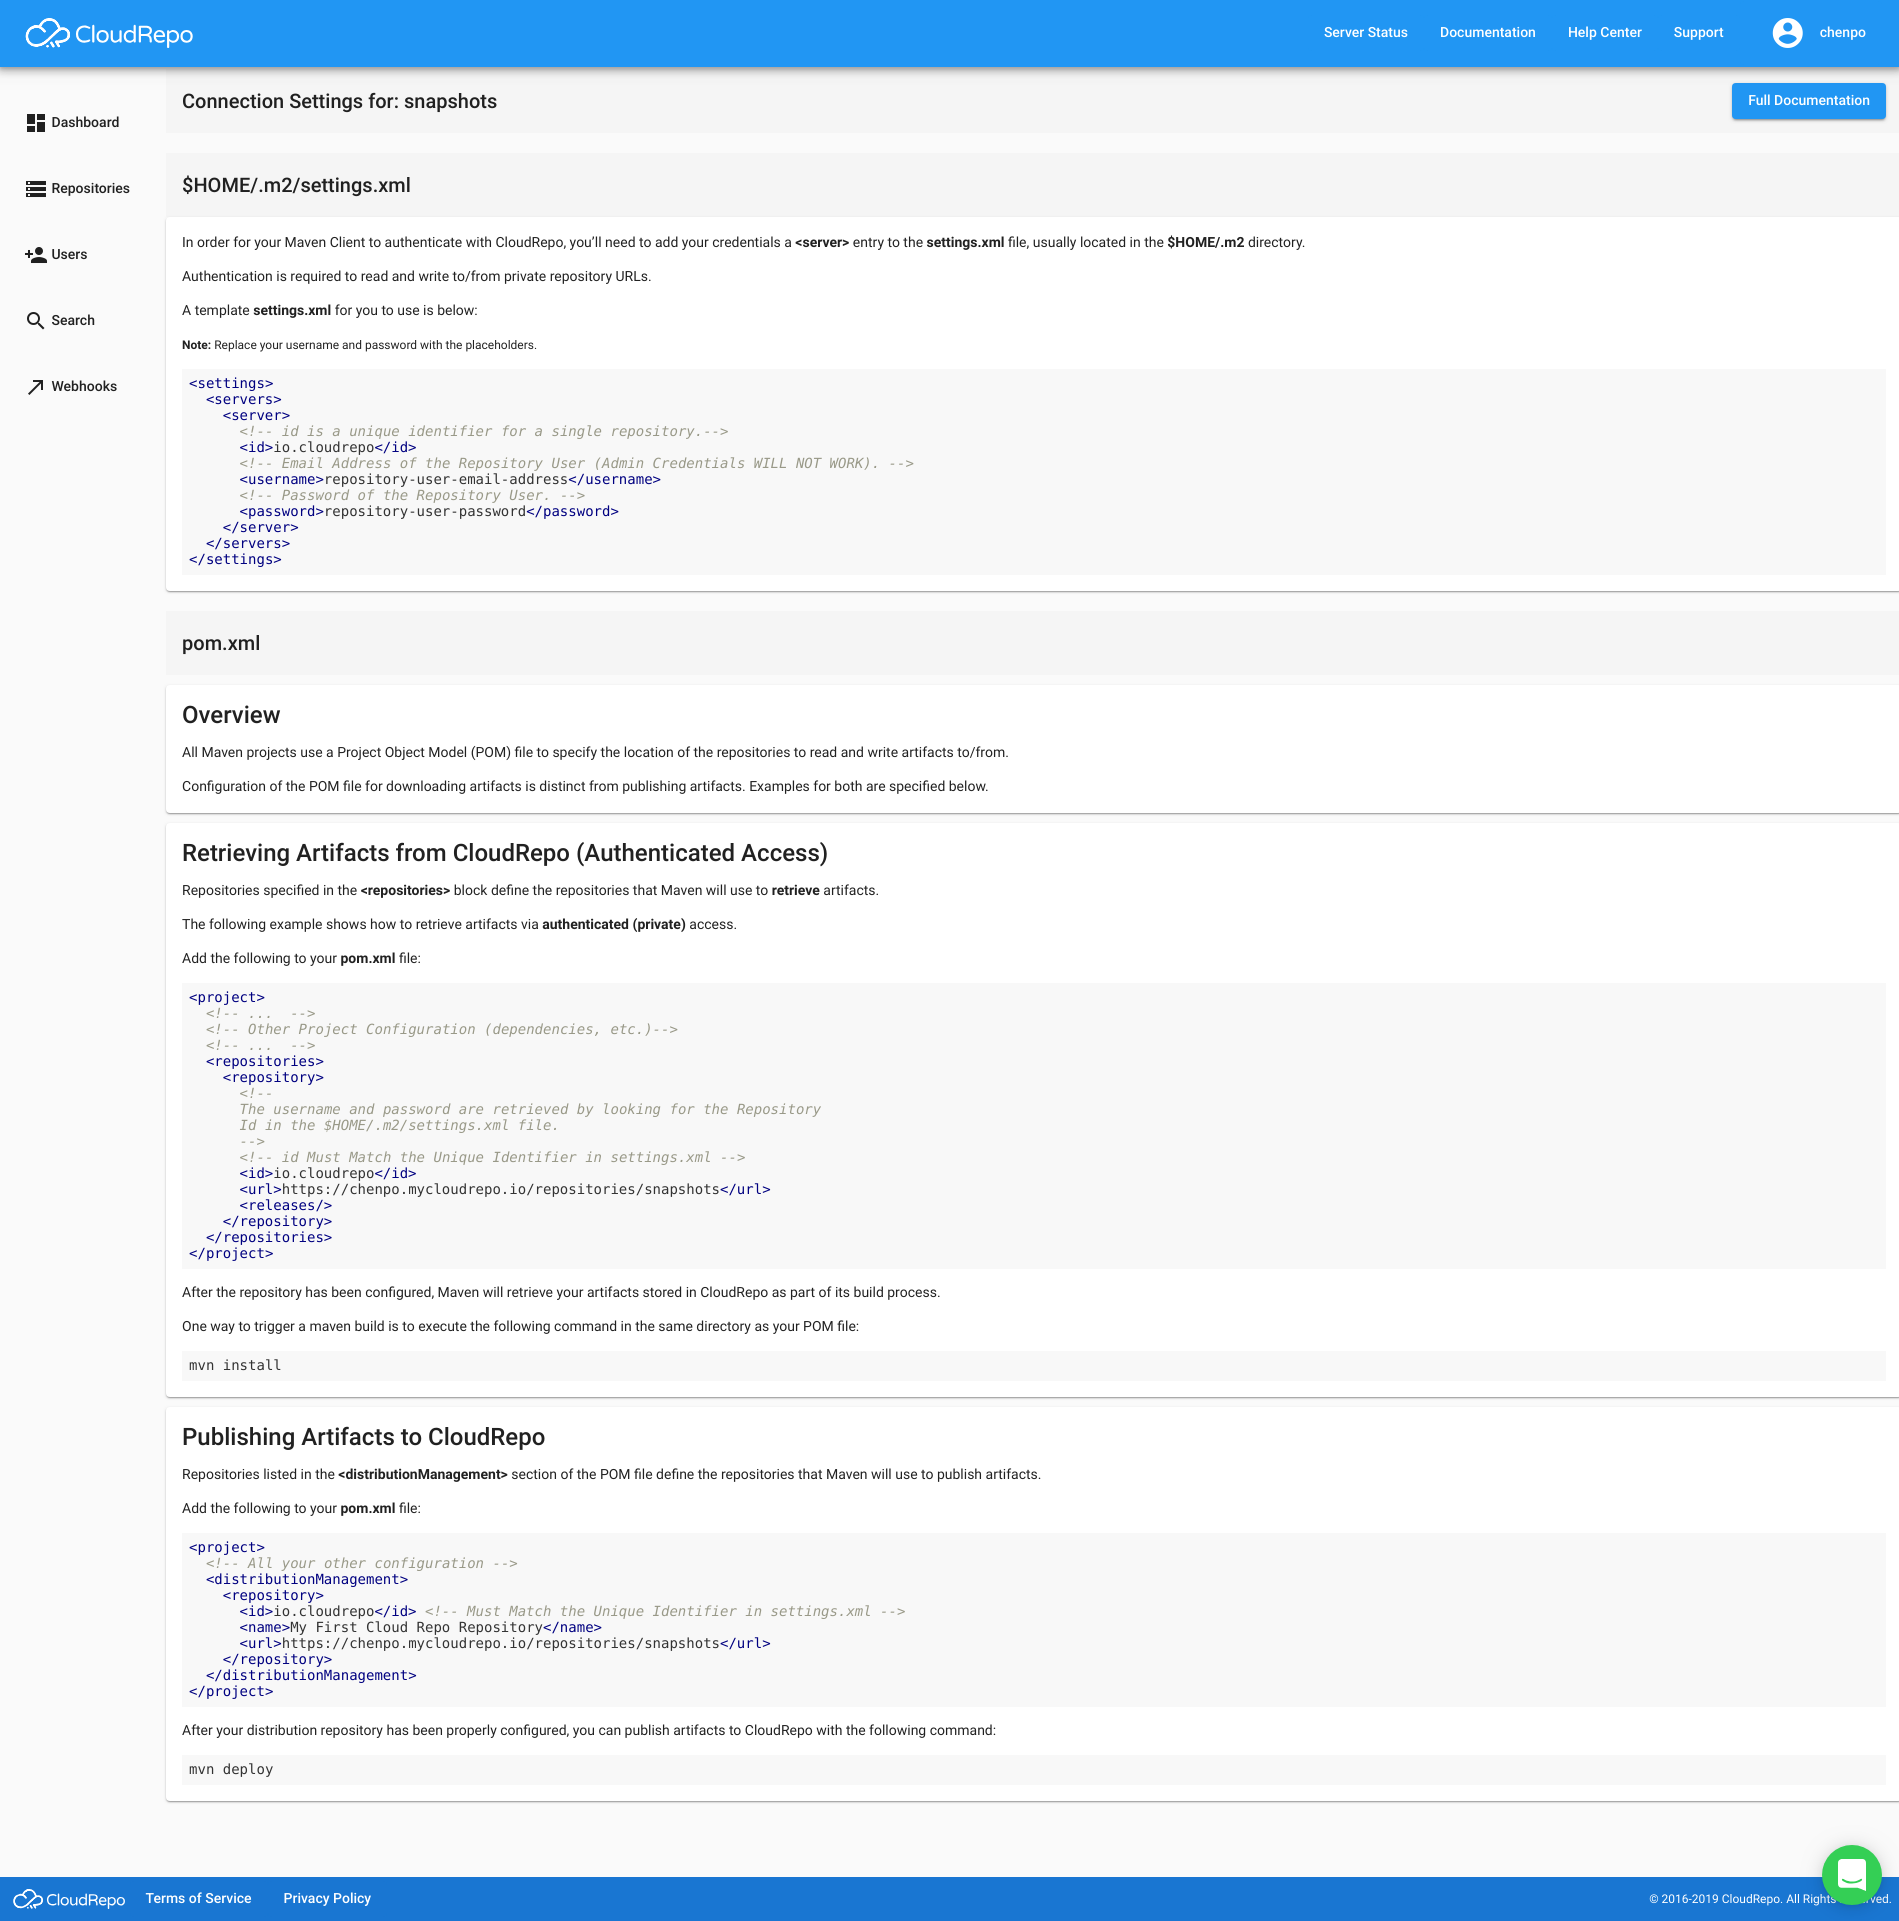
Example: Maven Connection Settings
Here’s an example of how the Connection Settings will appear for a Maven Repository:
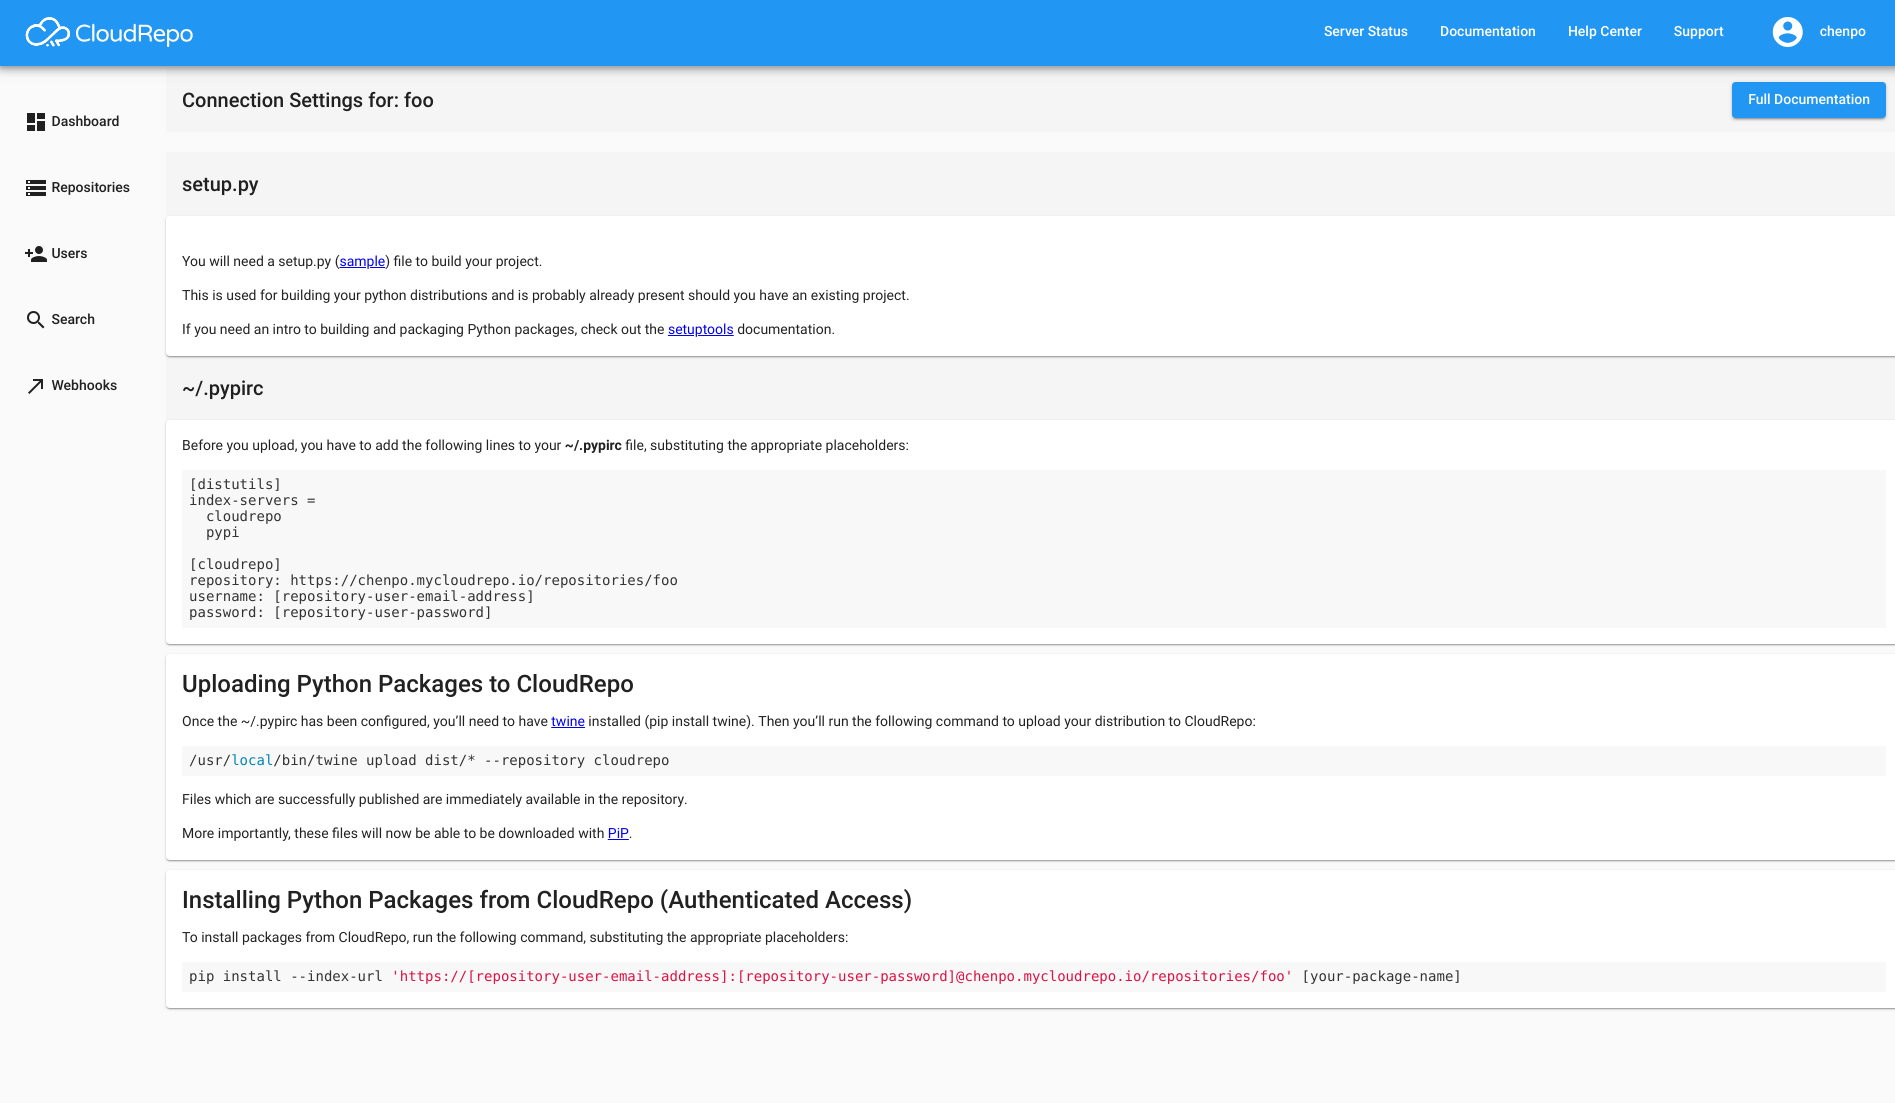
Example: Python Connection Settings
Here’s an example of how the Connection Settings will appear for a Python Repository:
Repository Settings
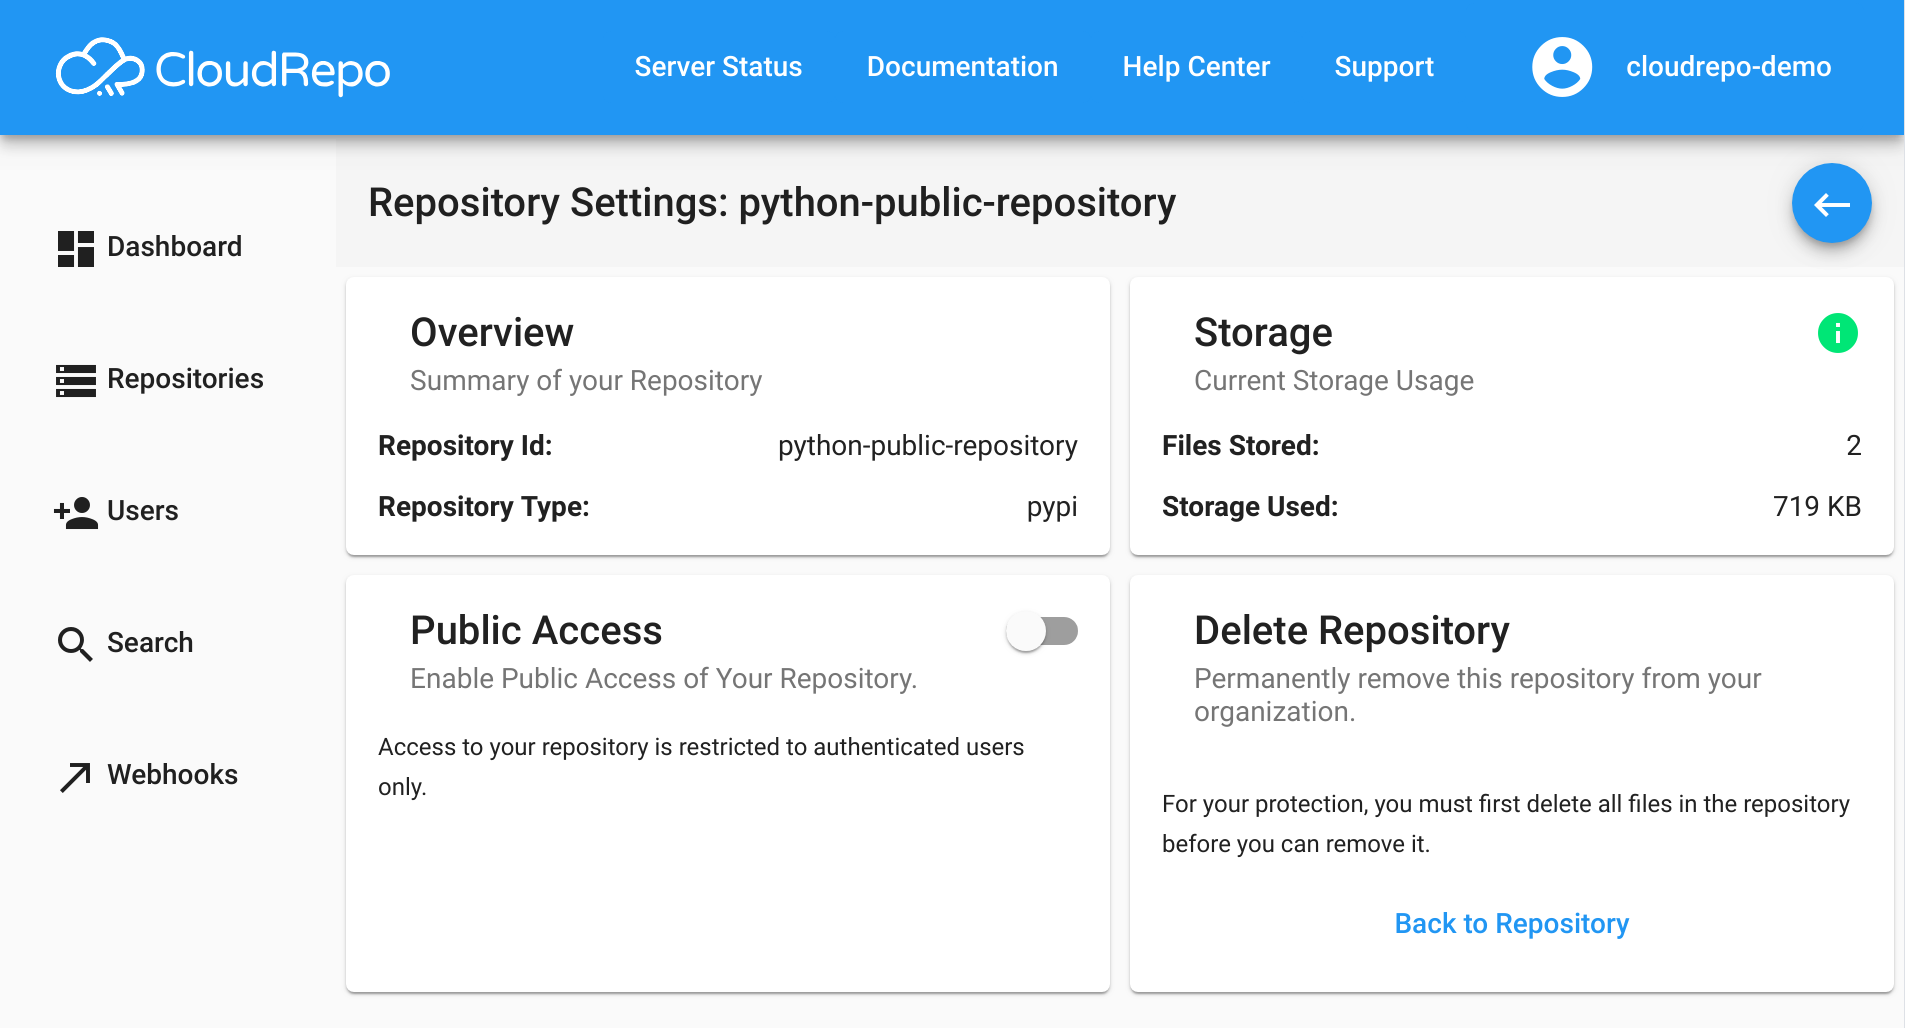
Each repository has its own set of settings that can be configured.
Access a repository’s settings by clicking the ‘Repository Settings’ in the menu.
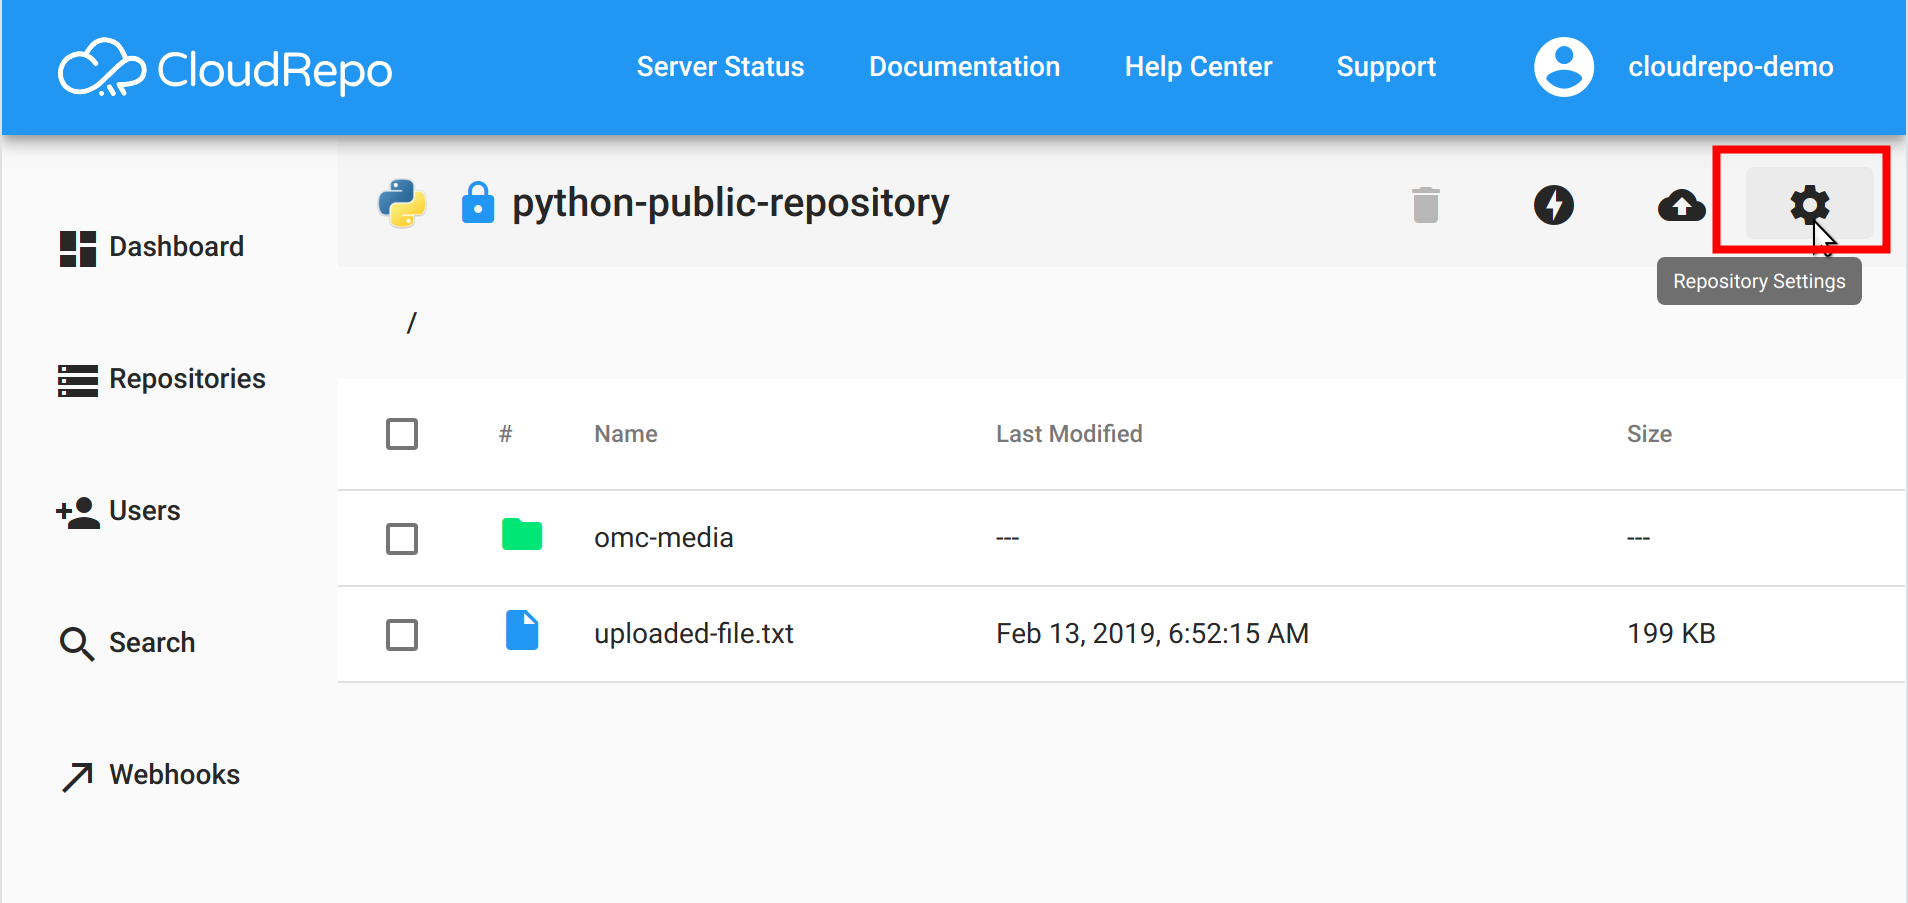
Once you click this button, the settings for a repository will appear.
Enabling Public Repository Access
By default, all repositories are private and require authentication to access.
Public repositories are accessible to anyone on the internet, without authentication.
Enabling public access is as simple as clicking the toggle on the ‘Public Access’ card.
To disable public access (switch back to private), simply set the toggle back to the off position.
Delete a Repository
In order to delete a repository, you must first delete all of the repository’s contents. This step is designed to help prevent against accidental repository deletions.
Once you have an empty repository, the delete repository button will become enabled and clicking it will remove your repository.
Other Options
Other cards and options may be present in the Repository Settings. These will be specific to the storage technology type of the repository (Maven or Python). These will be documented in the specific documentation.
